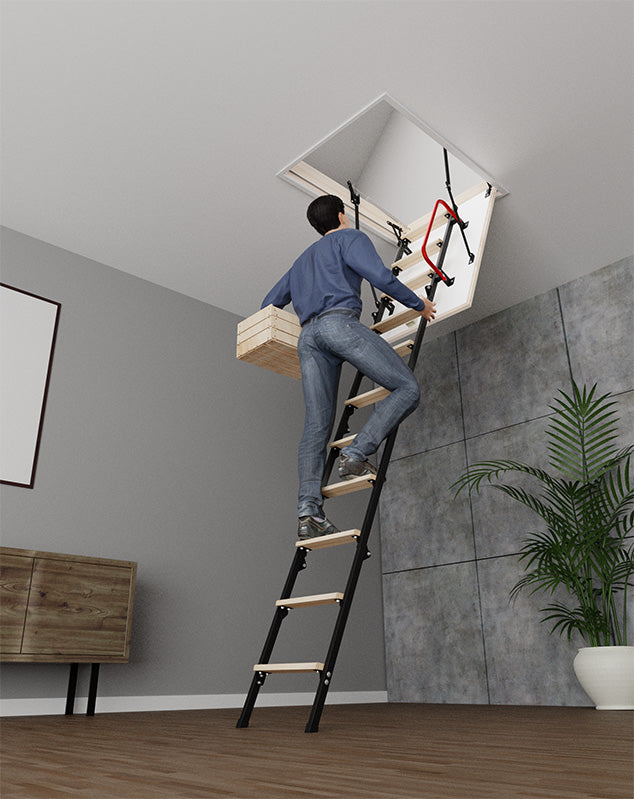
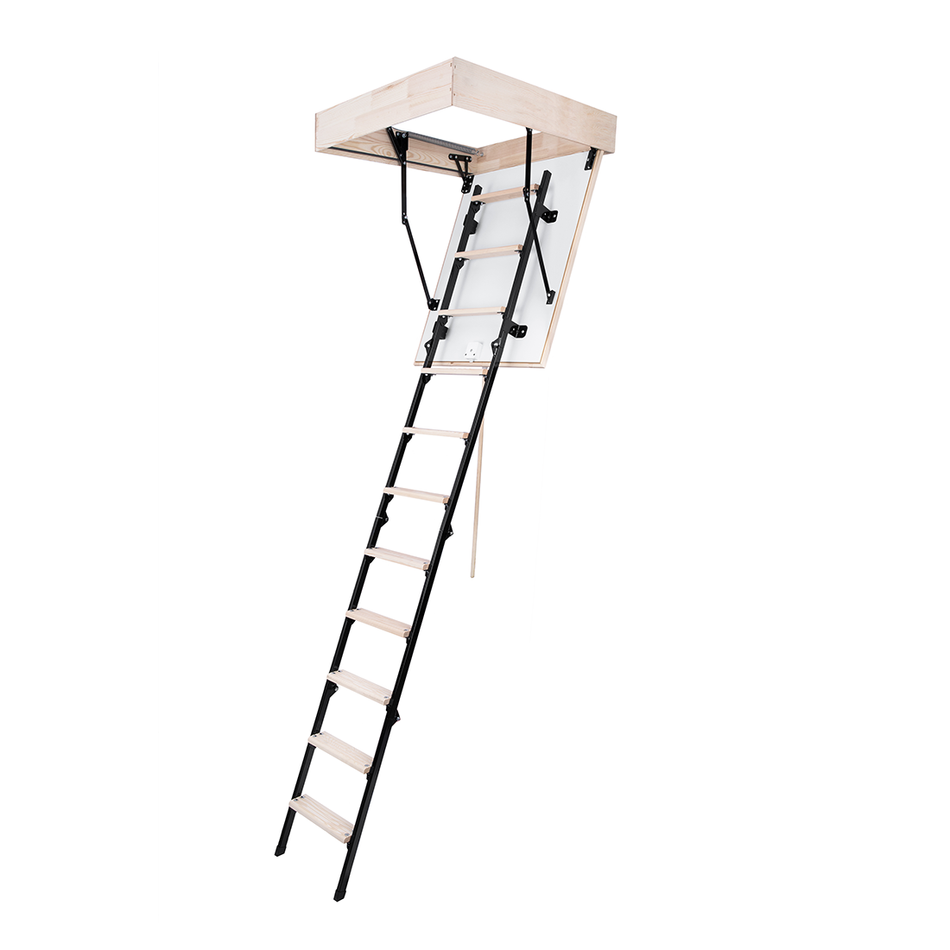
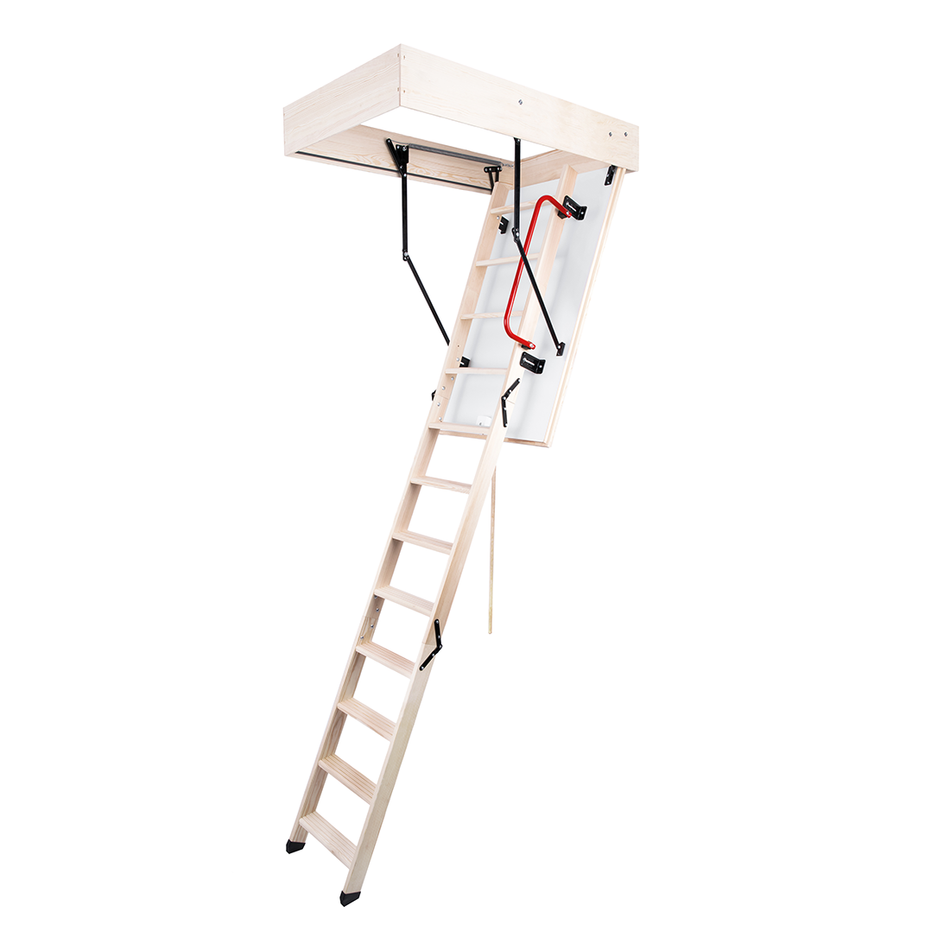
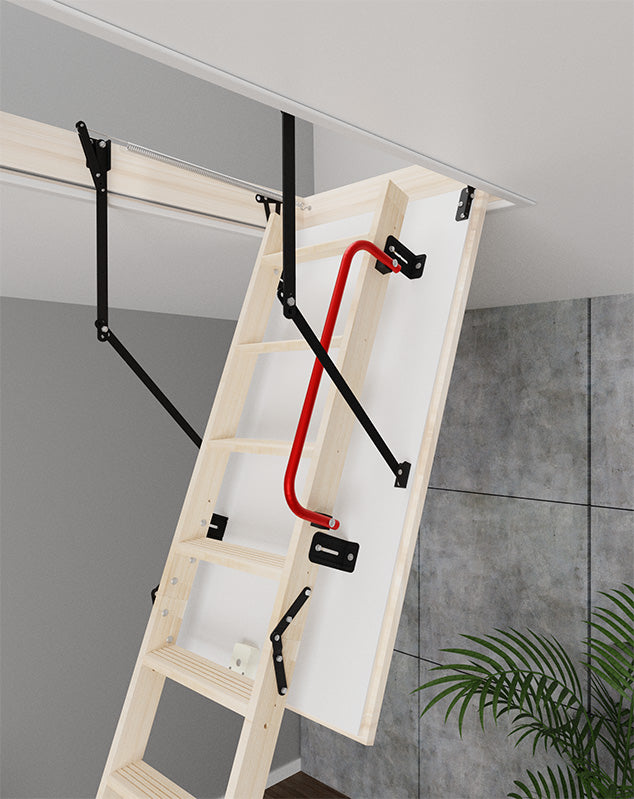
Want to install a new attic ladder, but not sure how? No problem. Bear with me to the end and I will show you how. Either you got prepared opening or need to make one, you’ll know how to do this almost by yourself.
We presented the installation of the ladder in the video in detail. First you need equipment. You will need such a things as:
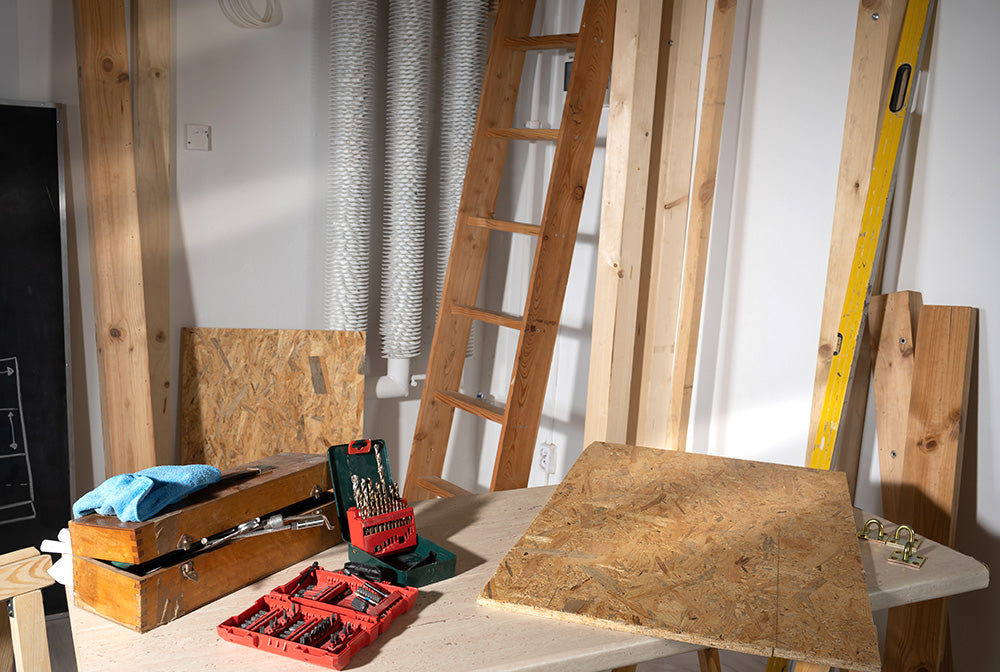
- Drill/Driver
- Safety Goggles
- Drywall saw and wood saw
- Dust mask
You might require such things as a hammer and nails as well. Depending on the scope of work you want to have done.
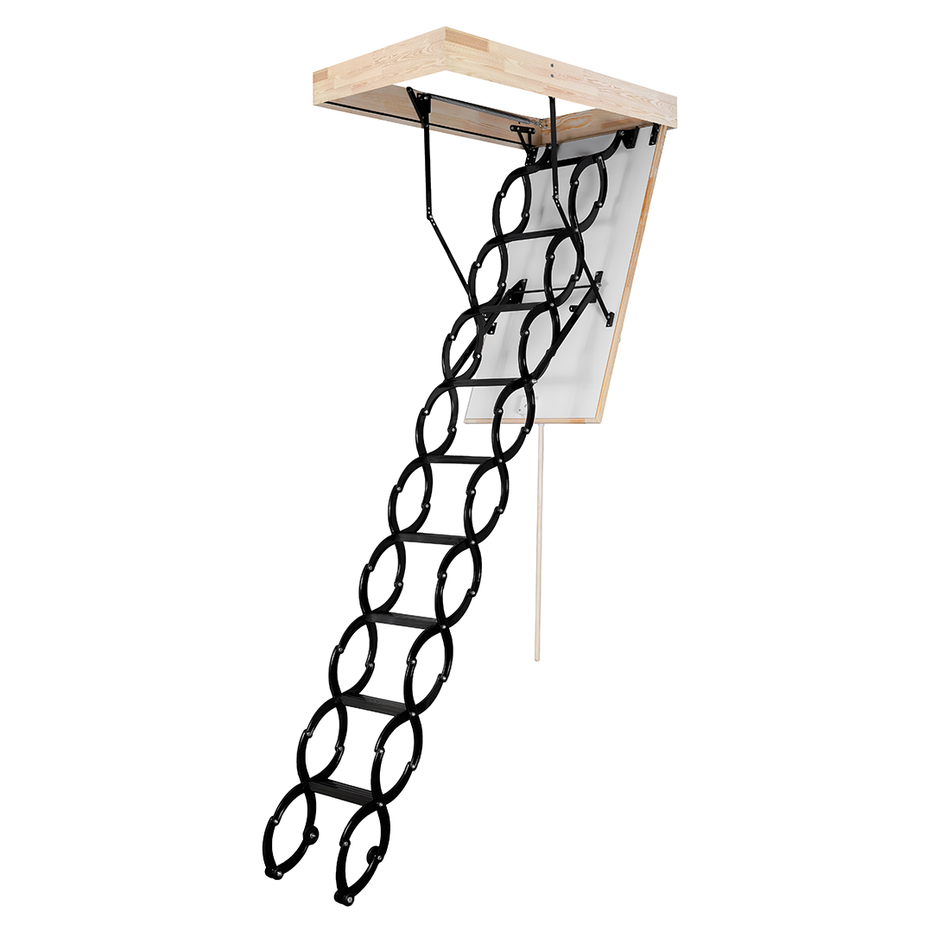
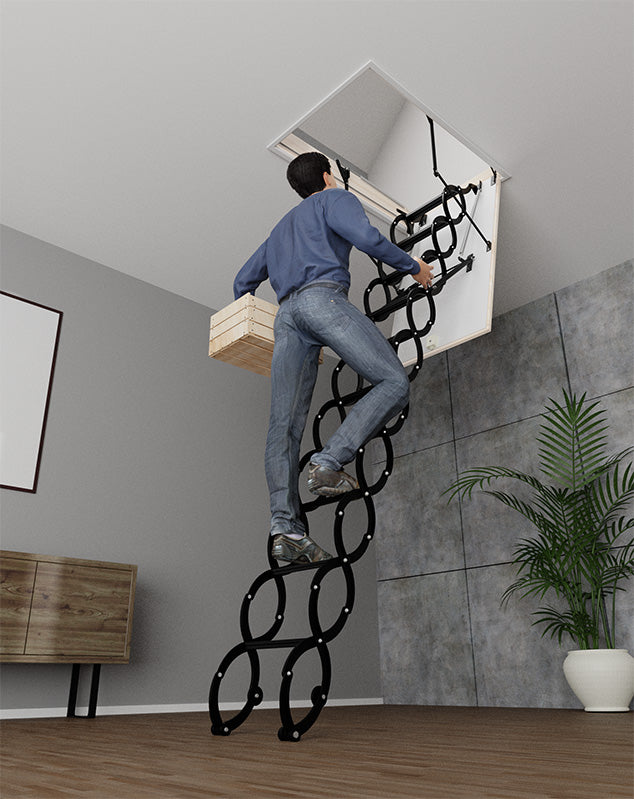
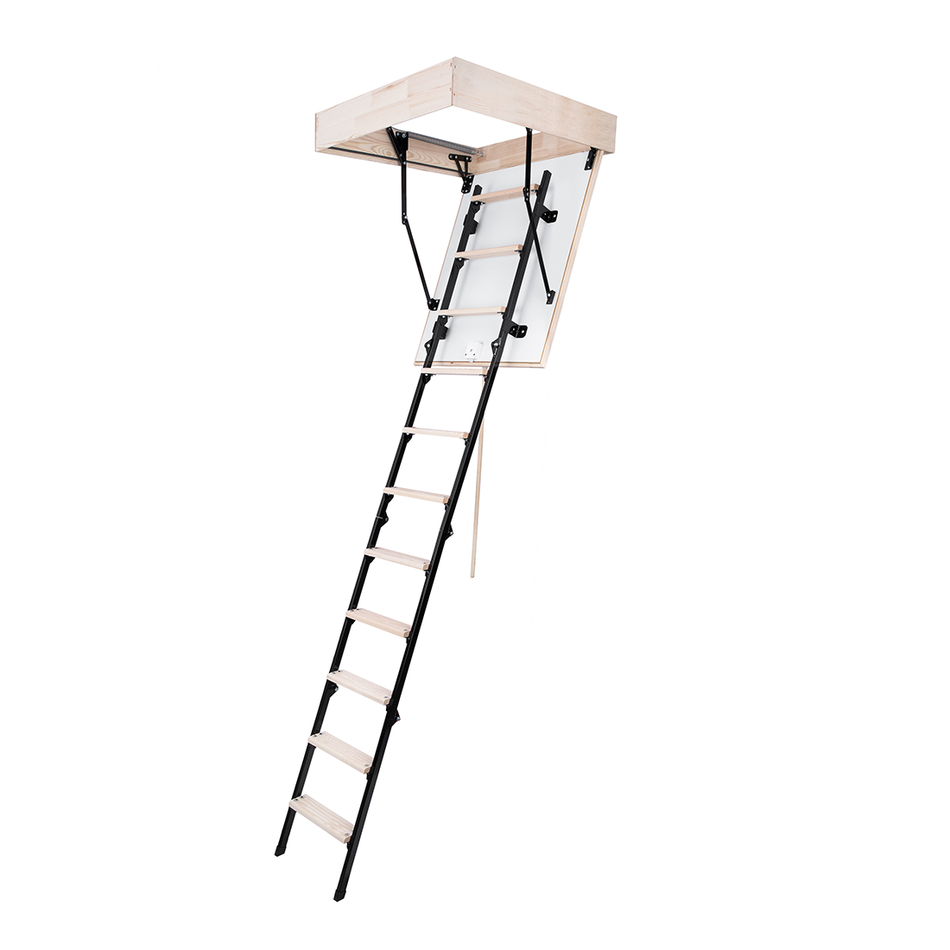
Pull down Attic Ladders - it's easy as pie.
Another step is to find the right place to install your attic ladder. It needs to be in place with easy access and with no furniture that the ladder might collide with. Also decide on the direction in which the ladder will open. That will help you avoid some unwanted surprises.
Great. You got your plans. Now it’s time to get physical. Good idea is to put a screw or nail into the ceiling in place where you want to install your ladder, that will help you localize that point while you’ll be upstairs. But what to do when you don’t have access to your attic? Then your first step is to localize beams and cut a small whole between them, so you can get through.
Once you’re in there, you need to find that screw or nail you put in. Then you’ll find out which beam you want to cut to make a space for an attic ladder box. Knowing the size of the box, you need to add about ¾” in length and width and also add a bit of space for pieces of lumber to make a mount for the ladder box . Choose one beam for stationary and cut the other, so you don’t have to cut more beams.
Cutting pull down Attic Ladders - yes or not?
Before cutting, you should strengthen the beam you are about to cut. Please do this properly as nobody wants accidents to happen. Then you can start cutting beam. Be careful to not cut the drywall. Now it’s time to add pieces of lumber in front and back. Use a joist hanger for support and screw these pieces to the main beam, you just cut.
In the same way you will need to add one more piece of lumber to close that mount from the last side. You can use that beam, you just cut it as it is pretty much the same size you need. Now you need to cut drywall to make an opening for the attic ladder. To make it a bit easier, you can put nails in all four corners and go downstairs. Connect these 4 nails with a straight line and cut straight through them.
You got it! You got a new opening. But you can’t finish right there. Now you need to add two supportive pieces of lumber on shorter sides, so you can place a box on them. Before you place the box, remember to take off a ladder from it. That will allow you a bit more space and it will be much lighter to pick up. Once you place the box in the opening, adjust it to be straight in the direction you want it to be and fill the holes between box and cage with small pieces of wood.

Then you can start to screw the box to the cage. Refer to the installation manual to have a good view of where you should use the screws. Then you can assemble the whole attic ladder together and remove two supportive pieces of lumber from the ceiling.
It’s done! Congratulations! If you want, you can put some casing around the hatch door, but it’s not necessary. Only thing that’s left for you is to enjoy your new attic ladder and your new space at home. Well done!

